

RIDGE-GUARD
Roof Ridge Vent Protection System - PAT. 10,590,655
The Problem
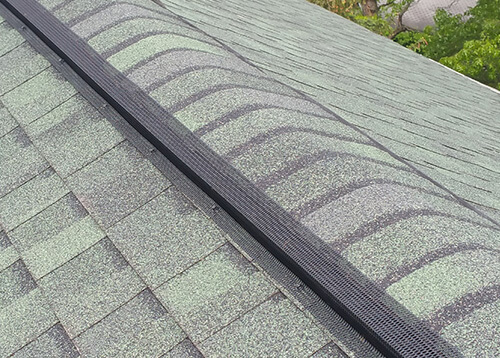
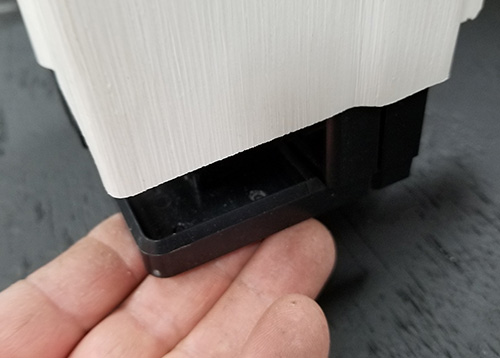
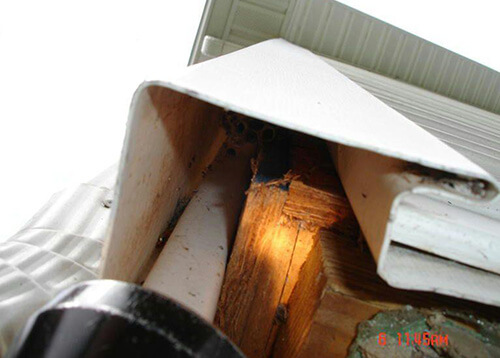
Ridge vent is an exhaust vent that is installed at the peak of the roof for attic ventilation. The air flow provided by this vent allows warm damp air to escape, keeping mold from forming. The material that ridge vent is made of is prone to warping from age, heat, and sun exposure. This warping leaves vulnerable areas where animals can enter. Once inside, these critters will waste no time making themselves at home. The damage that animals, such as bats and squirrels, cause can be very expensive.

The Solution
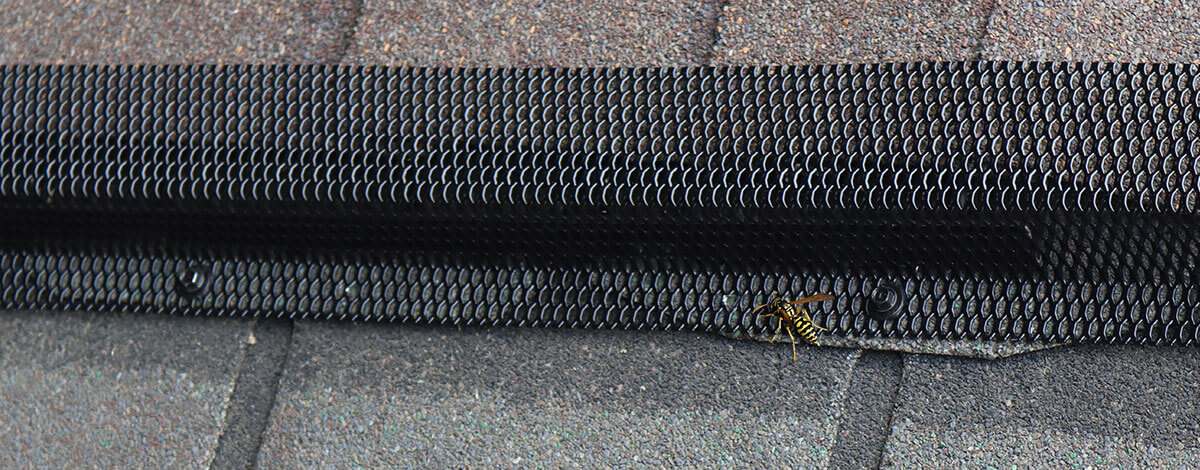
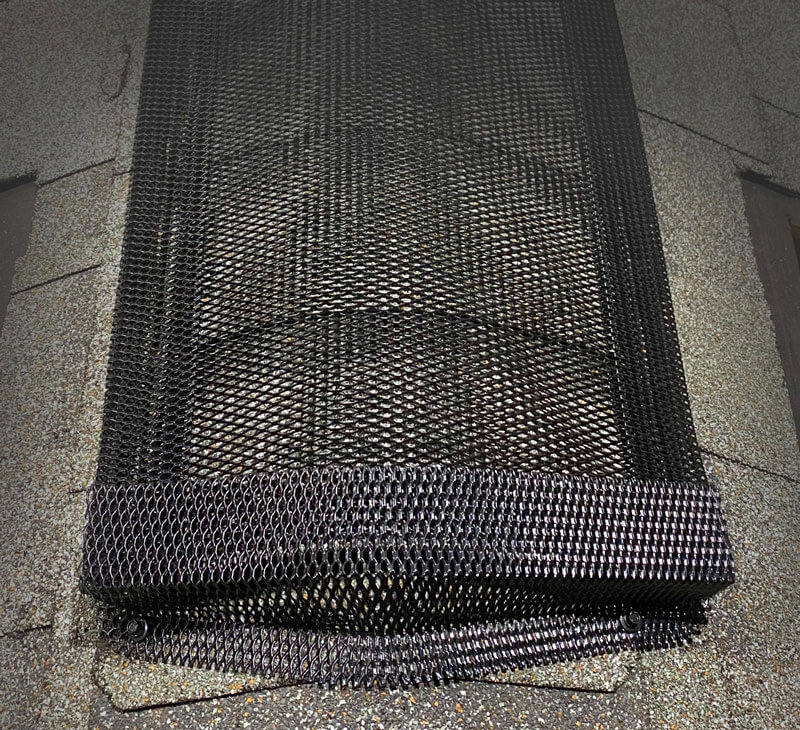
RIDGE-GUARD® is used on your home’s ridge vent to protect against wildlife entry. Originally designed to keep bats from entering attics, this U.S. Patented product also keeps out squirrels, mice, snakes, large stinging insects, and more. When properly installed, this product is the perfect way to protect your home and wallet from an unforeseen wildlife problem.
RIDGE-GUARD Protects Against:
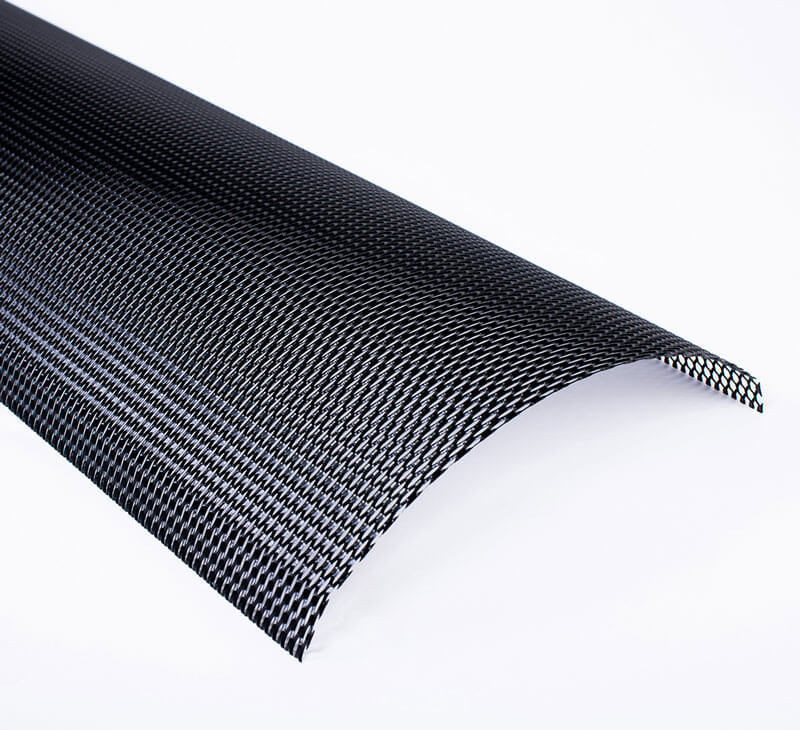
How is RIDGE-GUARD made?
20 Gauge Galvannealed Steel
Baked Powder Coat Finish
Lifetime Warranty Guarantee
Proudly Made in America
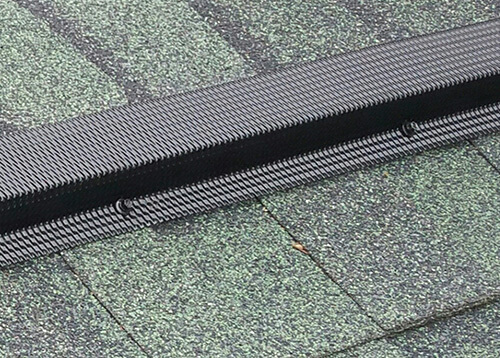
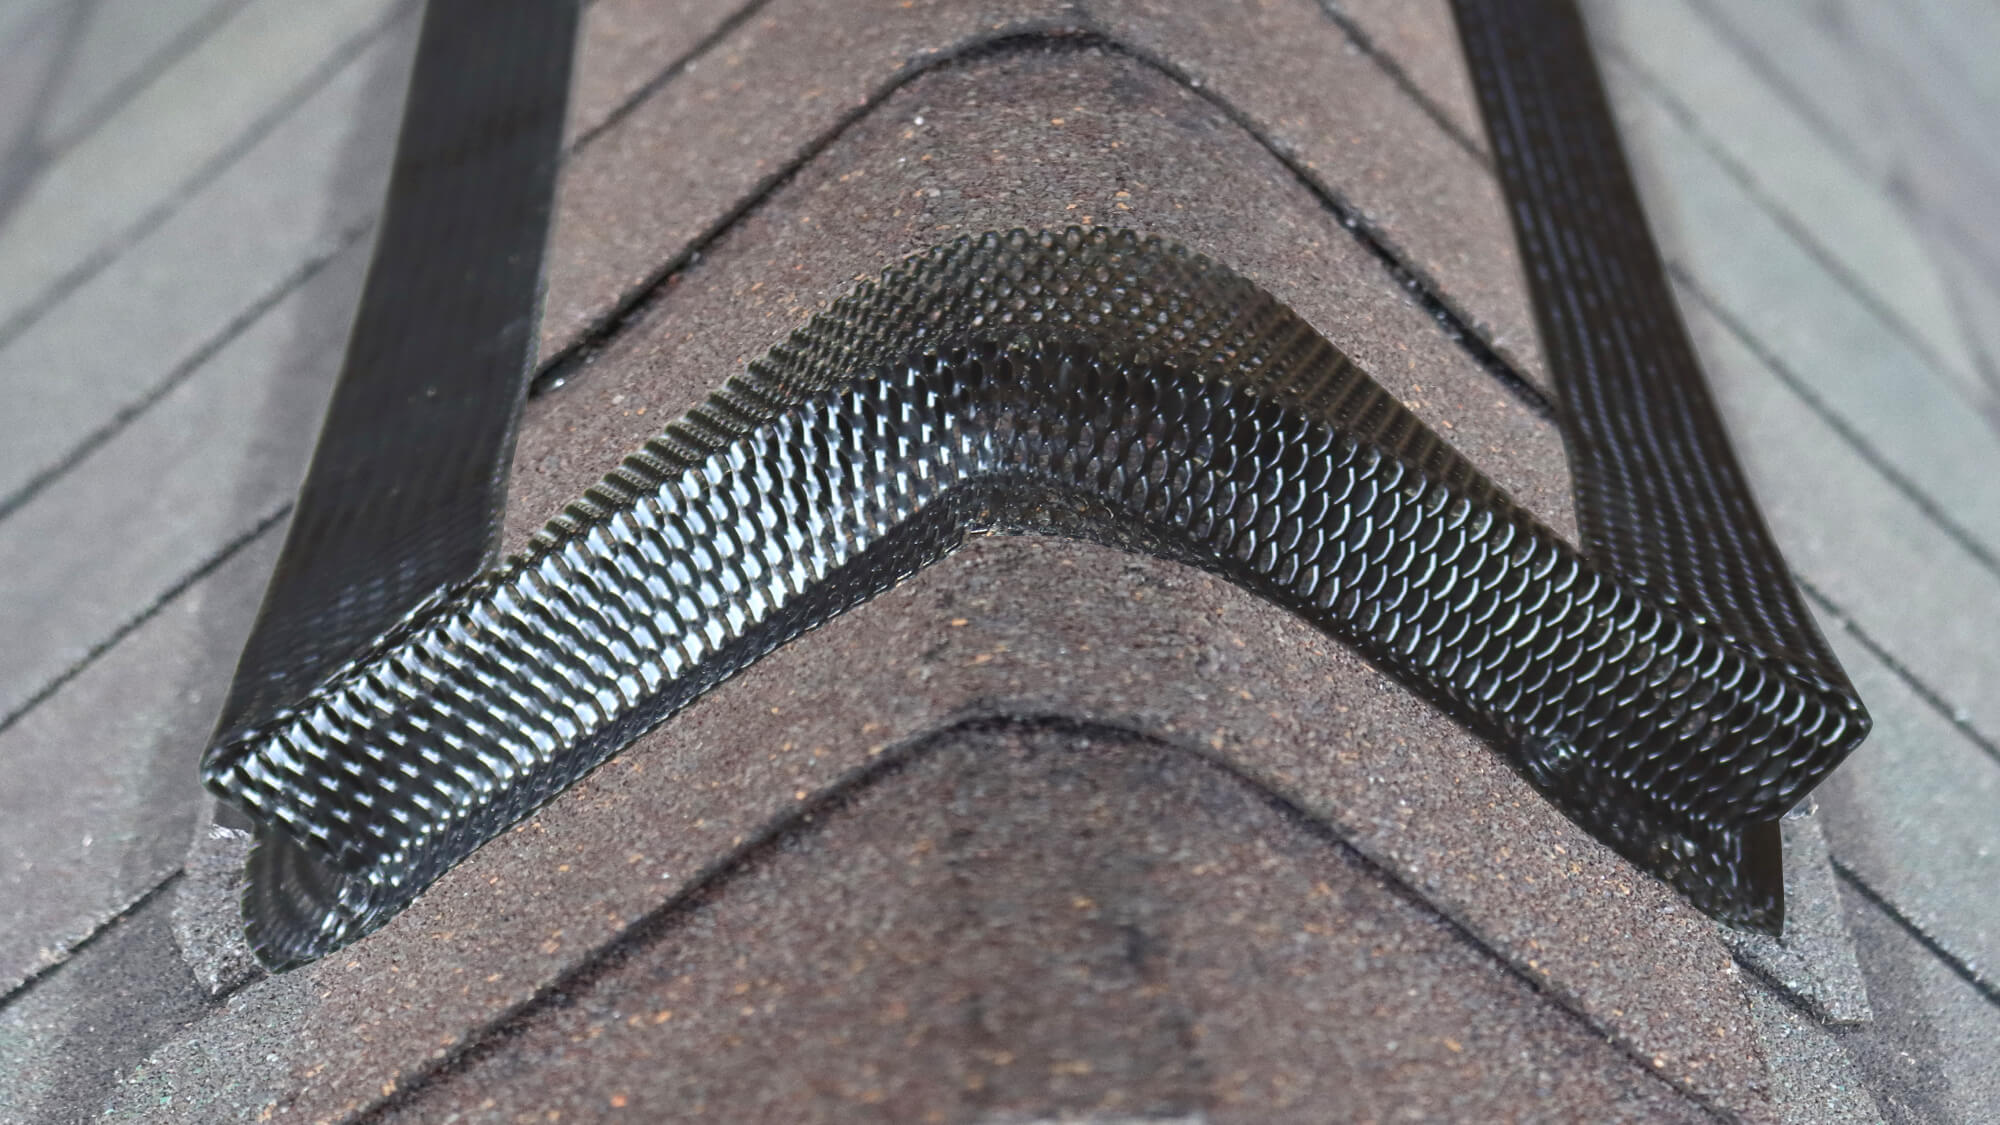
How does RIDGE-GUARD work?
RIDGE-GUARD has three faces and two angles.
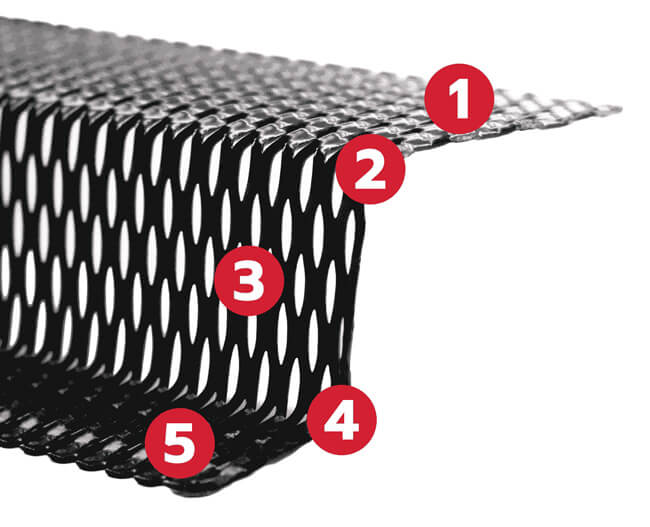

Run

Top Angle

Rise

Bottom Angle

Screw Tab
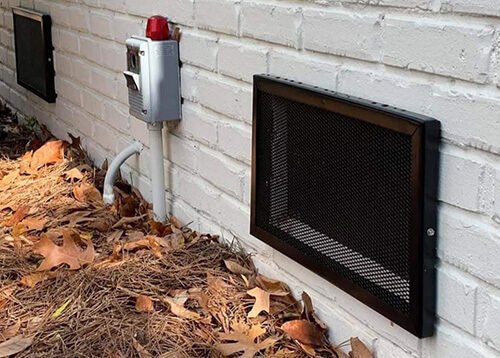
COMBINE:
Rat Wrap™ & RIDGE-GUARD®
for extra protection against raccoons and larger animals that may try to exploit your ridge vent and ridge cap.
Protect Your Roof Ridge Vent from Pest Entry with RIDGE-GUARD
Prevent wildlife and other pests from getting into your home. Check out the video below to see how.
Frequently Asked Questions
Want to become a certified installer?
Start your application process today and gain access to our entire product line plus training, support, and much more!
Certified / Professional
Find An Installer
Interested in protecting your home with our premium exclusion products? We’d love to connect you with trained installers in your area to discuss options.